WebSphere liberty docker on Synology NAS
I’ve got a Synology DS415+ at home, and have Docker running on it. I needed a quick way to install a WebSphere liberty server, and since the Synology NAS support Docker containers, why not … It’s very easy to get up and running, you just need a few extra configuration settings.
Please note that I’m not sure if this would work on any Synology, though. I think you need a Synology that has an Intel CPU (mine is an INTEL Atom C2538) …
Preparation
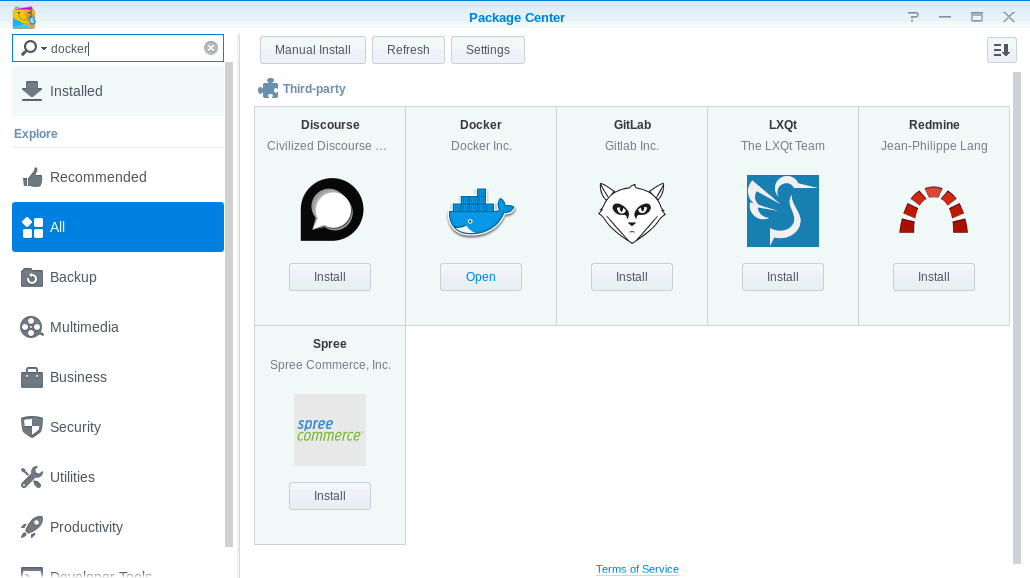
Install the Docker package on your synology nas using the Package Center.
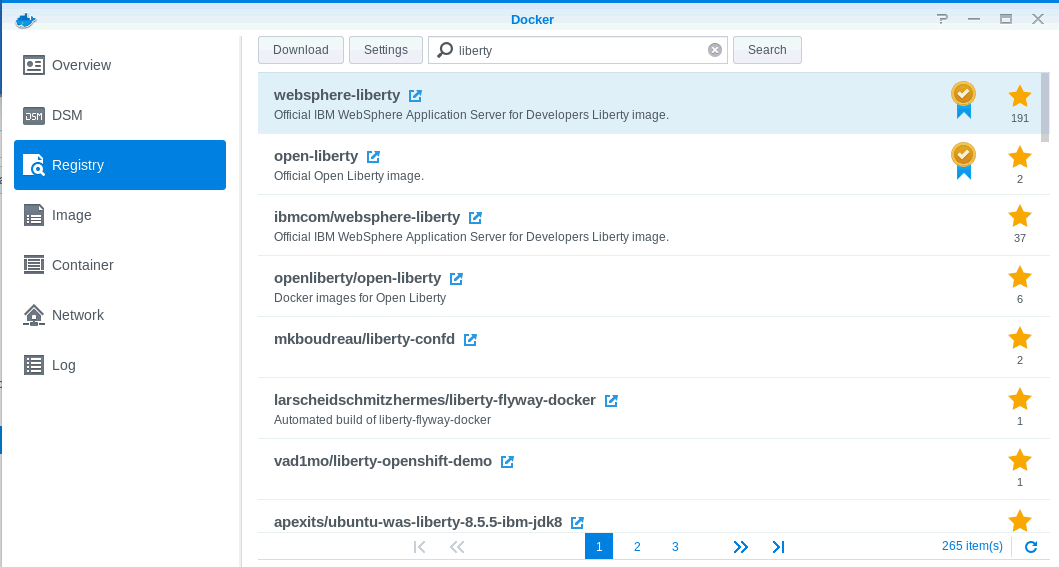
Start Docker once it’s installed. In the Registry, you can search for “liberty”. Use the “Download” button to download the image .
The synology uses Docker hub, and it’s this version you want to download :
https://hub.docker.com/_/websphere-liberty/
There’s more information there, for instance how to handle your certificates and key databases.
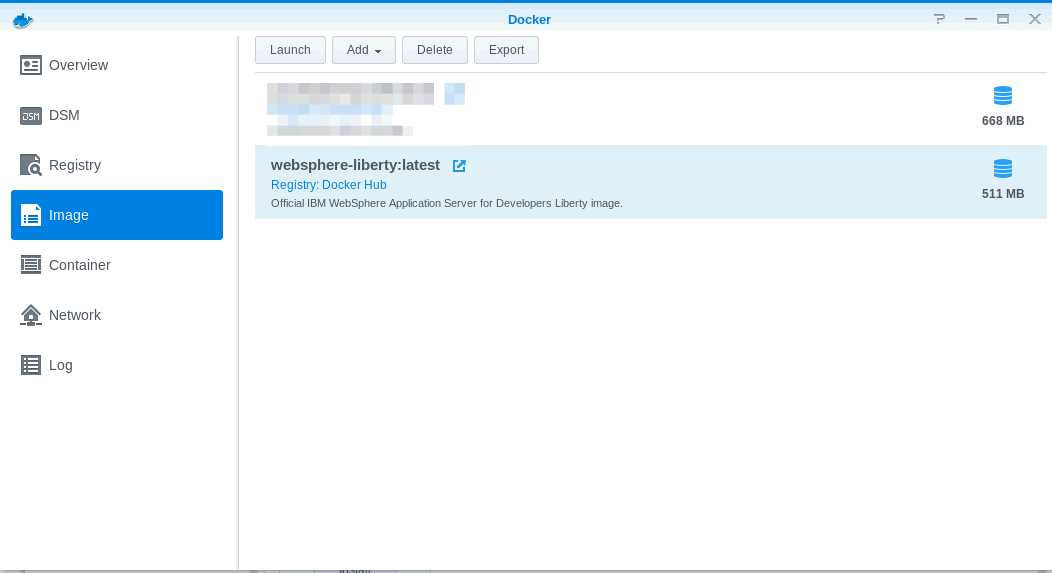
Once the download of the image is complete, select Liberty and click “Launch”. This creates an actual container from the image.
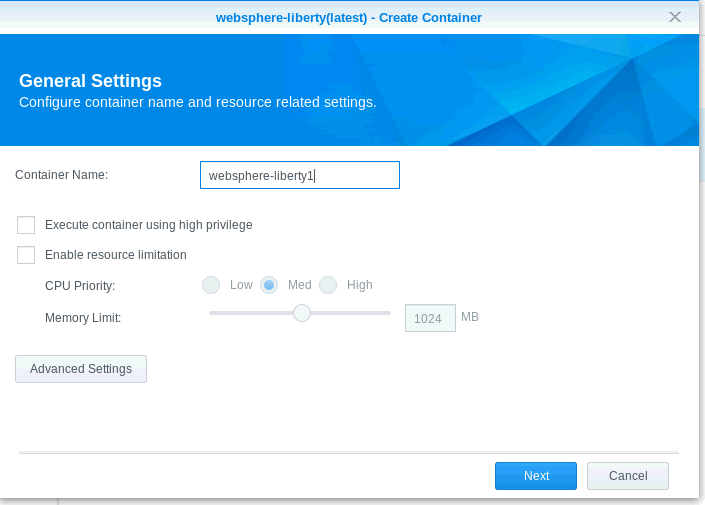
You can then configure the container. In particular, what needs to be configured are the volumes, and the ports. Since the Docker container cannot be edited, you need volumes to save data between restarts.
These 3 volumes are needed for the following paths :
/opt/ibm/wlp/output/ (or, more precisely, the path that’s in the WLP_OUTPUT_DIR variable)
/logs (or , more precisely, the path in the LOG_DIR variable)
/config
The documentation states you just need /logs and /config, but I found that the first path is also necessary.
You can also choose to do this later , by using the “Edit” button:
This is my Volume configuration

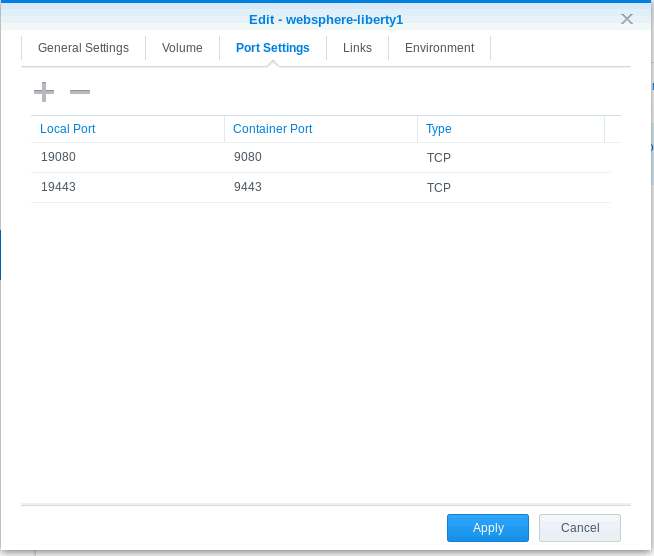
The ports, by default, are set to Automatic. This means that they change after every restart, and that’s not very handy.
I choose the ports 19080 and 19443 for the http and https ports respectively.
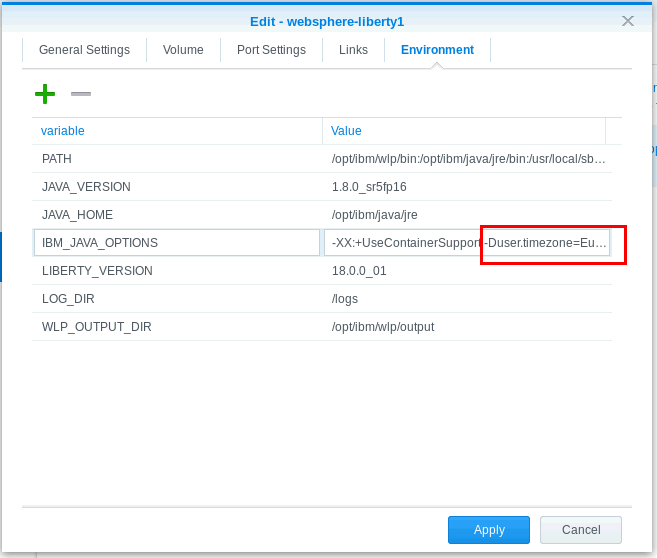
The environment variables can be used to give the Liberty container some correct startup options. A very useful one, is the java options that are used to start the Liberty jvm.
By default, the jvm would be started in UTC time, and there’s no “global” way to configure your Docker containers to start in a the correct timezone by default.
So add -Duser.timezone=Europe/Brussels (or your timezone specification of choice) to the IBM_JAVA_OPTIONS environment variable :
IBM_JAVA_OPTIONS -XX:+UseContainerSupport -Duser.timezone=Europe/Brussels
This concludes the configuration for the Docker container.
Configure Liberty server (server.xml)
To get a meaningful Liberty server, you probably want to deploy your own configuration .
Using the File Station in Synology, I have the following folder structure (that contains the volume configuration of the container).
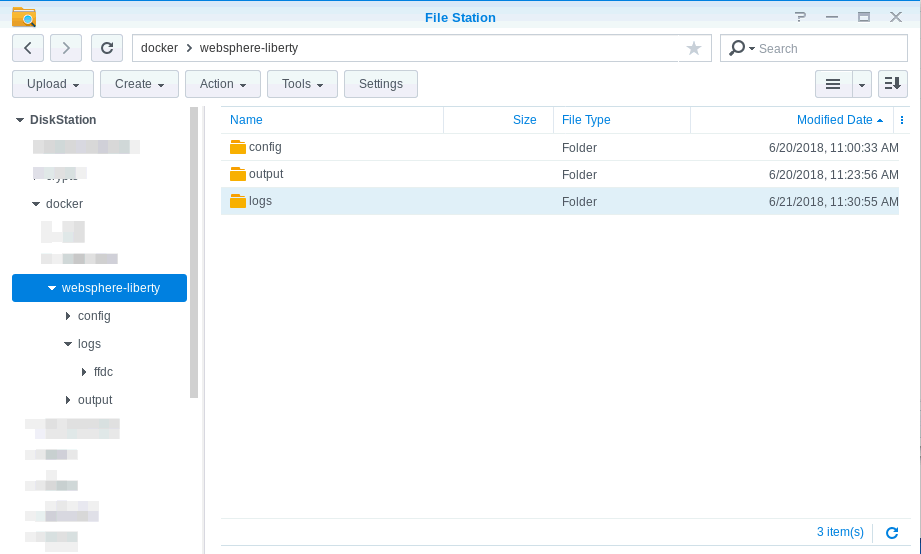
In the config directory, the magic happens. As with a “normal” Liberty installation, you have a server.xml file here (that is empty by default).
There’s also an “apps” directory , that contains your ear files.
In my case, I’ve used a simple configuration that you can download here : server.xml
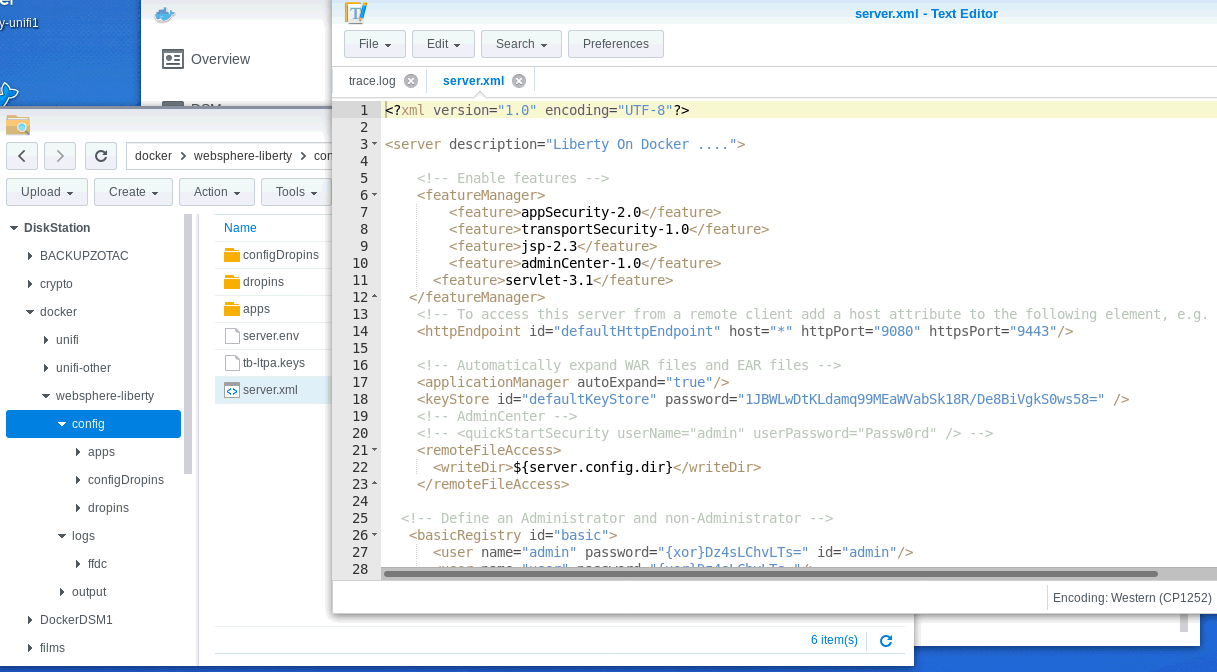
This configuration contains a basic user registry, an LTPA configuration and has 2 applications installed : the adminCenter and the defaultApplication.ear (Snoop)
The LTPA keys are generated automatically when you first start the container. Note that for LTPA SSO to work, you must configure your Liberty Server to run in the correct timezone (see previous topic) !
There are some specific steps to take , before everything will work :
SSL configuration
When you start the docker image, a default key configuration is generated. You can of course use your own key database , but I choose the quick and easy solution.
Open the keystore.xml file that’s in config/configDropins/defaults . Use the password for the defaultKeyStore in the keystore parameter in your own server.xml.
<keyStore id="defaultKeyStore" password="<replace with your keystore.xml password>" />
AdminCenter
There’s multiple ways to install the adminCenter, this is the method I followed :
Click on “Details” , with the websphere-liberty container selected.
Switch to the “Terminal” tab .
Click on “Create” to create a new Bash terminal session .
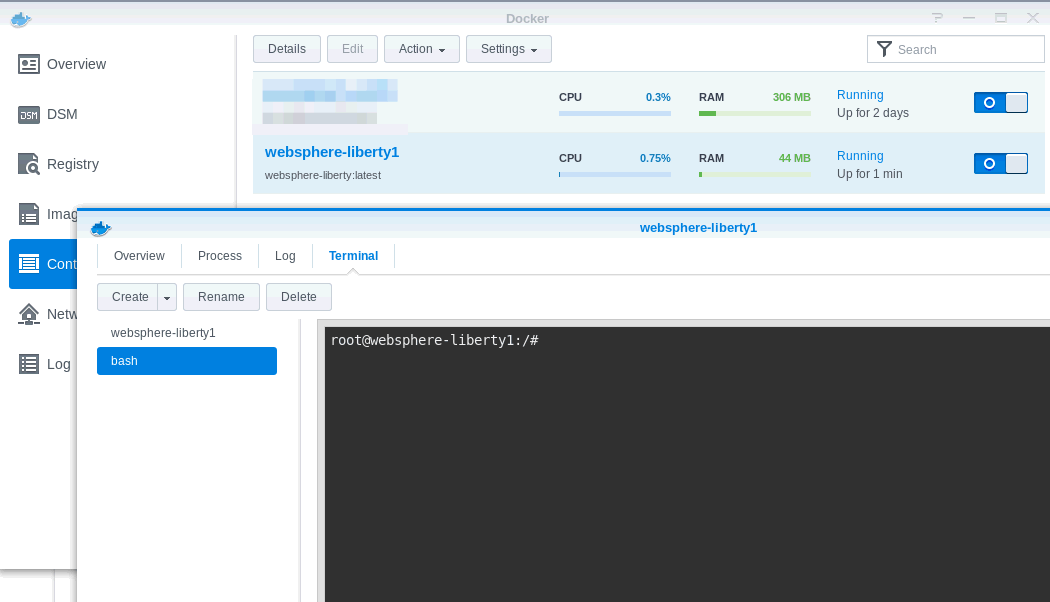
Use the following commands to install the adminCenter
cd /opt/ibm/wlp/bin
./installUtility install adminCenter-1.0
After restarting the Docker container, the adminCenter is available on the following url : https://synologyip:19443/adminCenter
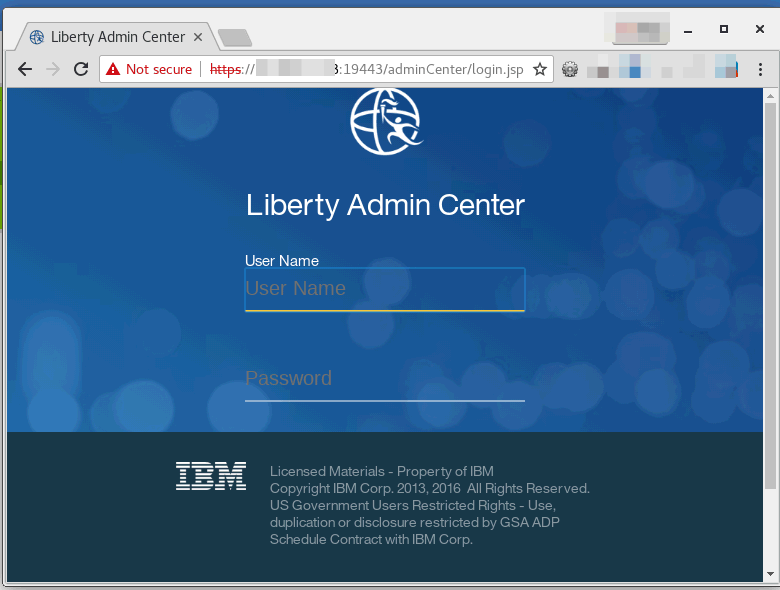
You need to log in using the admin user (if using the server.xml that’s provided here, the password is : Passw0rd ) .
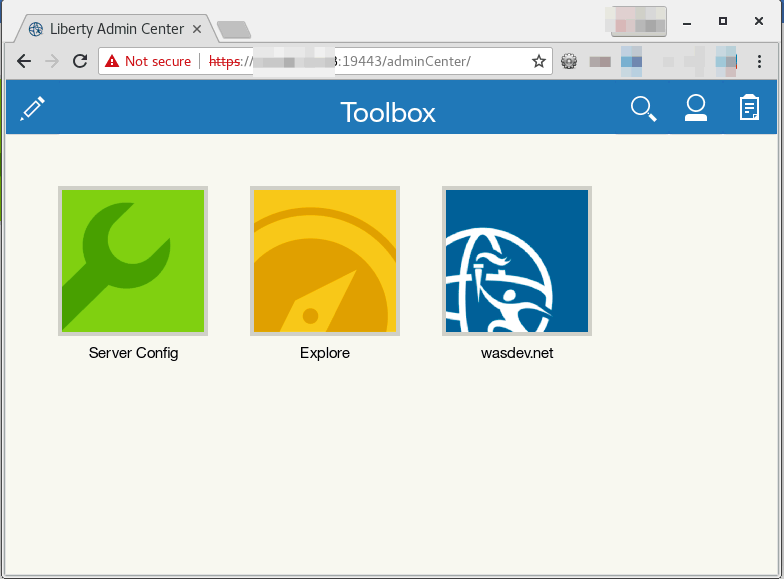
More information on the adminCenter application can be found here :
https://www.ibm.com/support/knowledgecenter/en/SSEQTP_liberty/com.ibm.websphere.wlp.doc/ae/twlp_ui_setup.html)
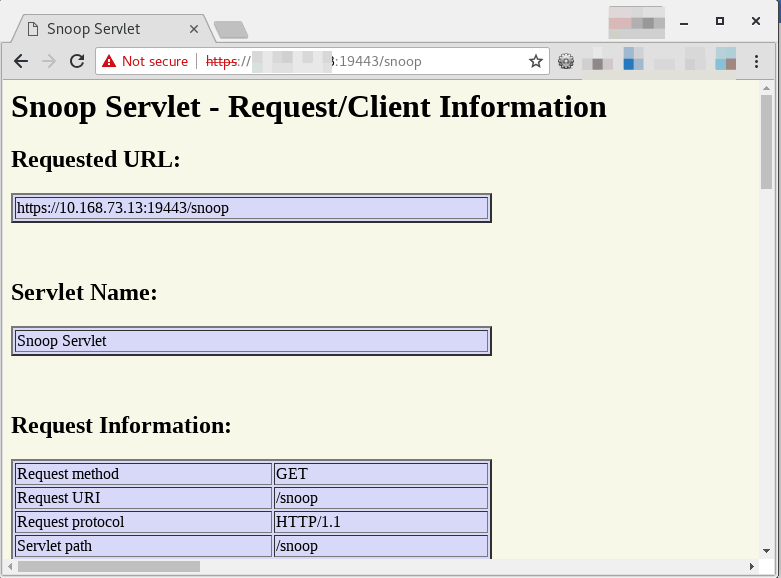
Default Application
WebSphere Application server comes out of the box with a DefaultApplication (aka snoop), that is handy to see if your server is working correctly, Now unfortunately, there is no DefaultApplication.ear that comes with Liberty. This version DefaultApplication.ear works with Liberty .
So download this file, and upload it to your Synology, in the “apps” directory. Your Liberty server will install it automatically (or restart the Docker image , so the server.xml also becomes active).
The Snoop Servlet is then available on https://synologyip:19443/snoop . You do need to login (if you use the server.xml that’s provided here)
Log files
The log that’s in the “Detail” page is not very useful.
Fortunately, you can use File Station the Synology to access the “log” directory, where the standard messages.log is (and the other log files , like ffdc logs, if you’re interested in those)